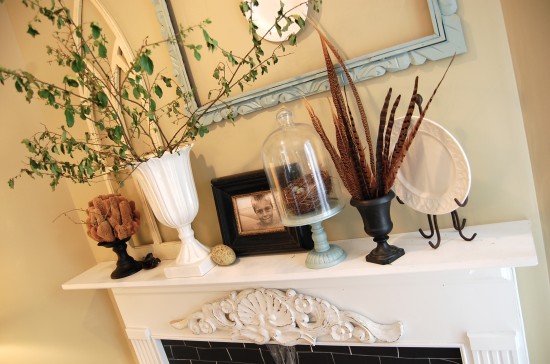
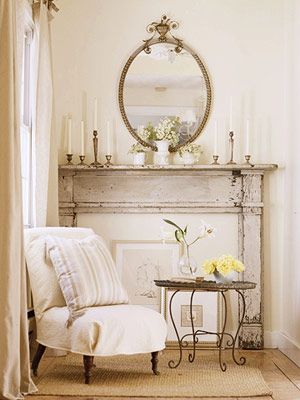
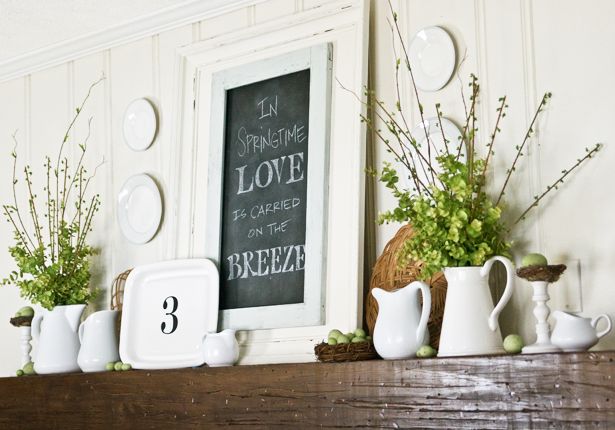
Lately I have been trying to change up the look of my mantle in my living room. I have probably changed it at least 5 times in the last 5 days, and it just never seems quite up to par. I have been looking online for some fun ideas, and wanted to share some of my favorites.I love this mantle from The Nester. It is so simple, but to be completely honest, I may be more in love with the detail on the front of the mantle. I do love the look though. There are some great tips on there about decorating your mantle, so I will share them with you here.
1. Scale–you want big stuff, you want small stuff, you want medium stuff
2. Layering–don’t be afraid to put stuff in front of other stuff
3. Height Variations–make sure you have tall stuff and short stuff
4. Texture–shiny, smooth, rough, glass, wood, soft, sharp? I can’t think of any more textures but you get the idea
5. Color–consider repeating the same color a few times
6. Natural–try to add in one thing from nature
7. Meaningful–kid made pottery, a grandma’s silver rattle, quirky photo, framed letter
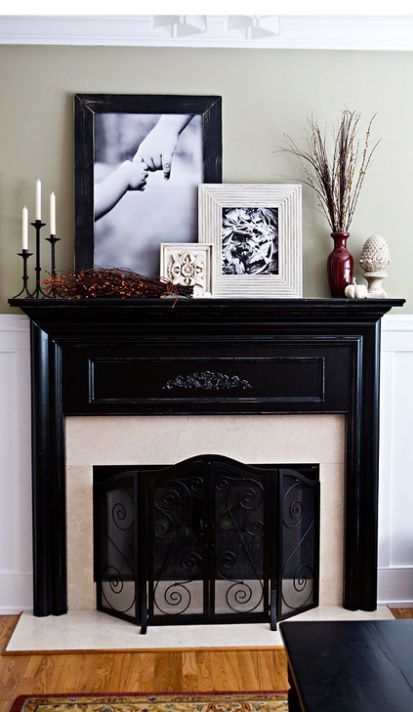
I am super envious of this awesome mantle that I found on one of my favorite blogs, The Lettered Cottage. They did a mantle mania, and there are so many fab ideas on there. I will share some of my favorites.
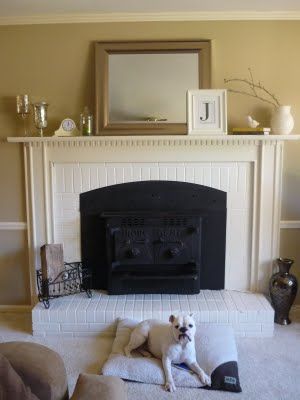
I must say that this last one is my favorite! I actually drooled on my shirt a little...ok, not really, but I do love this!
July 6, 2011
July 4, 2011
Picture frame makeover
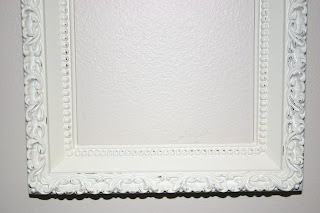
I am always interested in finding any type of frames, mirrors, or pretty much anything that has lots of detail on it. I recently found these frames at a garage sale for $0.50, and I loved the detail on them. I figured I could spruce 'em up a bit. Frames are the easiest things to paint. seriously! A can of spray paint, some glaze if you would like, or perhaps just a bit of sandpaper, like I used.
Here are the frames as they were when I bought them :)
I mean, they were so great that I probably could have done nothing with them. Look at those beautiful flowers printed on those cardboard backs..... Yeah, but anyways, I first pulled those beautiful flower pictures out of the frames, made sure the frames were dust free, and sprayed them with a couple layers of spray paint. Once the frames were totally covered, and dry, I took a piece of sand paper, and lightly ran it over the raised portions of the frame, and voila
Now I just need to figure out if I should leave them empty, or if I should do a little make over / cover up of te beautiful flowers, and have something actually nice in the cute new frames.....decisions decisions.
June 13, 2011
Many people have told me that I really need to check out Pinterest, but it took me a while to actually check it out. If you have not joined this site, you must! If you love crafts, DIY, sewing, and Pages upon pages of beautiful inspiration, you need to check it out! You can create "boards" with any and all of your favorite things, and you will also be able to add a pin to your browser so that you will be able to pin photos and tutorials and images that inspire you. These can be pinned to your Pinterest board from anywhere on the web! This is a great way to collect inspiration that you can come back to at any time, and you won't have to worry about trying to hunt it down again, because you will already have it saved to your Pinterest boards!!! You can also add images of things that you have created, to share with others. There is so much more to this awesome site, but REALLY, you need to check it out!
June 6, 2011
Dresser Refinish
I have been on the hunt for a cheap dresser for my daughters room for quite a while now. I didn't really know what I had in mind, but I just figured I would know it when I saw it. After who knows how long of searching, I finally found one that someone was willing to deliver for me (since I only have a car...boo). When I got this dresser, it was scuffed, dirty, and one of the drawers was a bit messed up, but it was super cute.
This was what I started out with.
The insides of the drawers were dirty, and had old yucky cabinet lining in them.... I began by, obviously, taking it outside. I then gave the drawer faces, and the frame a good sanding to remove the shiny finish (or what was left of it), to allow the paint to "stick" better. Once the sanding was done, I thoroughly wiped down all or the surfaces, and allowed everything to dry. The drying didn't take long for me, since it was like 90 degrees outside, so anyways, when that was done, I used a small sponge roller, and my Glidden paint and primer in 1, and started rolling my paint onto all of the flat surfaces. I then used a brush to get into the creases and corners. Once my first coat was dry, I applied a second coat. As a side note, the paint and primer in one didn't cover the piece as well as I had hoped, so I did have to put numerous paint coats on, but with a $14 can of this, I was able to paint the inside and outside of the entire dresser, drawers included, and I still had paint left when I was done. While this method does take longer than spray priming and painting, it is much more cost effective to do it this way. After all of my paint coats were dry, i used a fine grit sandpaper, and lightly distressed the areas where wear would naturally occur. You can distress as much or as little as you would like, it all depends on the look you are going for. For the inside of the drawers, I painted all of the sides, and on the bottoms, I used elmers spray adhesive, and applied a natural brown wrapping paper that I had cut to fit the bottoms. This worked perfectly, and gave the drawers a nice clean new look.
This is how it looks after
I still have to get new knobs for it, but I am super excited about how it turned out. I love it :)
May 19, 2011
Anthropologie Acid Mirror
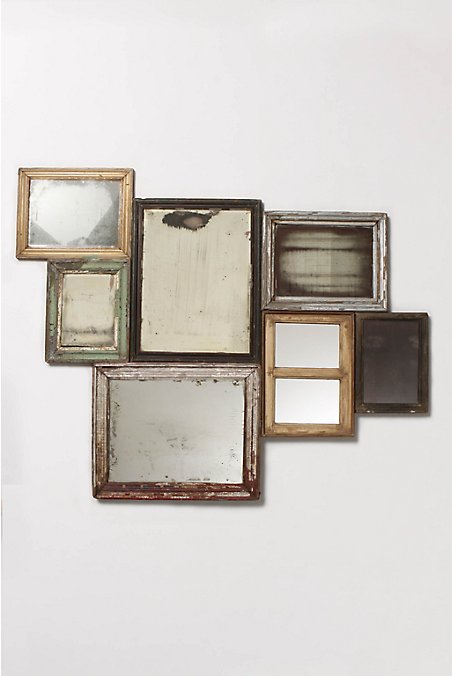
I am in love with these mirrors, and Mandi over at Vintage Revivals has a great tutorial on how you can make one yourself, and save a boat load of money. How great is that!
This is the set that Anthropologie sells, and it is only about $700! What?! For 7 old picture frames, this has to be a joke....right?
This is the set that Anthropologie sells, and it is only about $700! What?! For 7 old picture frames, this has to be a joke....right?
This is Mandi's version, which I personally prefer!
I have not attempted to make my own yet, but they are definitely on the list!
May 14, 2011
Awesome Garage Sale Trunk
This last weekend, while checking out some garage sales, I found this awesome trunk. I envision this being a toy chest for one of my children's rooms, but as of now it is in the entryway waiting to get it's insides upholstered :)
This is the trunk as it was when I bought it.
There was rust running down the sides, blue paint peeling off of it, and it was just kinda ugly. I first had to sand her down to remove the peeling paint, and get the surface roughed up for priming. Then I put on a few coats of Primer.
Here she is after a coat of primer. Keep in mind, there were a few more coats after this one.
After the primer (I use Krylon spray primer) had dried, I started painting (with Krylon Ivory Gloss spray paint) light coats of paint on her. You will need to let each coat of paint dry before you begin the next coat.
Here she is after her paint had been applied
After the paint had dried completely, I got out my Valspar tintable glaze (that I have tinted with black) and brushed glaze into the creases, and detailed pieces, then wiped away the excess with a damp cloth until I had the desired amount. As a note, it is better to start off with light coats. You can always add more glaze if you would like a more dramatic look. I did one side at a time, that way I could quickly remove the glaze and not allow it to dry.
This is the finished result, after the sanding, priming, painting and glazing had all been finished. I am very happy with the outcome of this piece. If the hardware would have been removable, I probably would have opted to remove it, and paint it with a brushed bronze, but since it wasn't, and it had already been painted, I just painted right over the top of it. If you wanted to, you could tape off everything that wasn't metal, and spray the metal pieces with a metallic finish.
There are really great Painting Tutorials and Glazing Tutorials given by Brooke, over at All Things Thrifty, that are very easy to follow and are a great start for anyone wanting to learn some best practices for spray painting, and glazing.
Re-purposed Windows Galore
When looking for vintage windows, it is common to find them with panes of glass missing. There are many ways to repurpose your "broken" window into a functional and awesome feature for any room. I love the idea of using a "broken" vintage window as a corkboard, like the one I found at Doris Today Designs.
I also am in love with this window mirror from The DIY Club. This is a project that I will definitely be taking on!
Or you could create a wonderful vintage sign for your kitchen, entryway, or pretty much any area in your home using a tutorial from The DIY Club
There are so many awesome things to do with Vintage windows, and I will be adding more as I find them, or make them.
April 29, 2011
The Jewelry Armoire
I was in need of some storage in my tiny bathroom, and decided a jewelry armoire would be just the thing. I wanted a fairly simple style, and something that was cheap (of course), so I went onto my favorite shopping site, Craigslist, and found this little number. Isn't she a beauty ;)
She's a looker huh! I primed her with some spray Kilz, then sprayed her with Krylon's Ocean Breeze, threw some glaze on there, and voila! So much better, and sooo cheap. Love it!
She's a looker huh! I primed her with some spray Kilz, then sprayed her with Krylon's Ocean Breeze, threw some glaze on there, and voila! So much better, and sooo cheap. Love it!
The Ugly Butterflies
So here are the ugly butterflies that I found at an estate sale recently. The only reason I got them is because my 2 1/2 year old is really into butterflies right now. I knew I could paint them, so I decided what the heck, they are cheap. Here is what they looked like before.
Here they are after a couple coats of paint, and a touch of glaze~
Much better, and now my daughter can see butterflies everyday.
Here they are after a couple coats of paint, and a touch of glaze~
Much better, and now my daughter can see butterflies everyday.
Garage sale chairs
Here are some of my garage sale find chairs that I have refinished. Chairs are so easy and fun that I can't resist one if I find it (for the right price of course).
Before~
After~
Before~
After~
Before~
After~
Before (these chairs are part of a dining set that is shown below)~
After~
Before~
After~
Before~
After~
Before~
After~
Before (these chairs are part of a dining set that is shown below)~
After~
Subscribe to:
Posts (Atom)

