April 17, 2011

Decorative Balls

As a weekend project, I bought some styrofoam balls and made them into decorative balls.  These are so easy to make, and cost soo much less than the ones you buy at the store.  The 6 styrofoam balls were around $5, and the rest of the stuff that I used was stuff that I already had at my house.

The first ball was made out of branches from a bush in my back yard.  I cut a bunch of the branches from the bush, took all of the leaves off, and got to work.  For the first pieces, i attached each end to the ball with a straight pin.  Once you have enough branches on the ball, you can just start weaving the remaining branches into the ones that are attached.  Also, as you can see in the picture, there is some white showing through, so you may want to cover the ball with natural colored coffee filters, or something along those lines, or you can just add a lot more branches until it is totally covered.  I was too anxious to get started, so I didn't do this :)


For the next ball, I had some fake flowers, and just hot glued them all over the ball until it was completely covered.


Next, I had some fake leaf/thick grass looking stuff, and pinned this so the ball at each end.  I continued to pin each piece until the ball was completely covered.


The next ball, I covered in lace.  I had gotten a bunch of strips of lace at an estate sale, and just wrapped the entire ball in it.  Once the ball was covered, I used a straight pin to secure it (I also used a straight pin at the beginning).


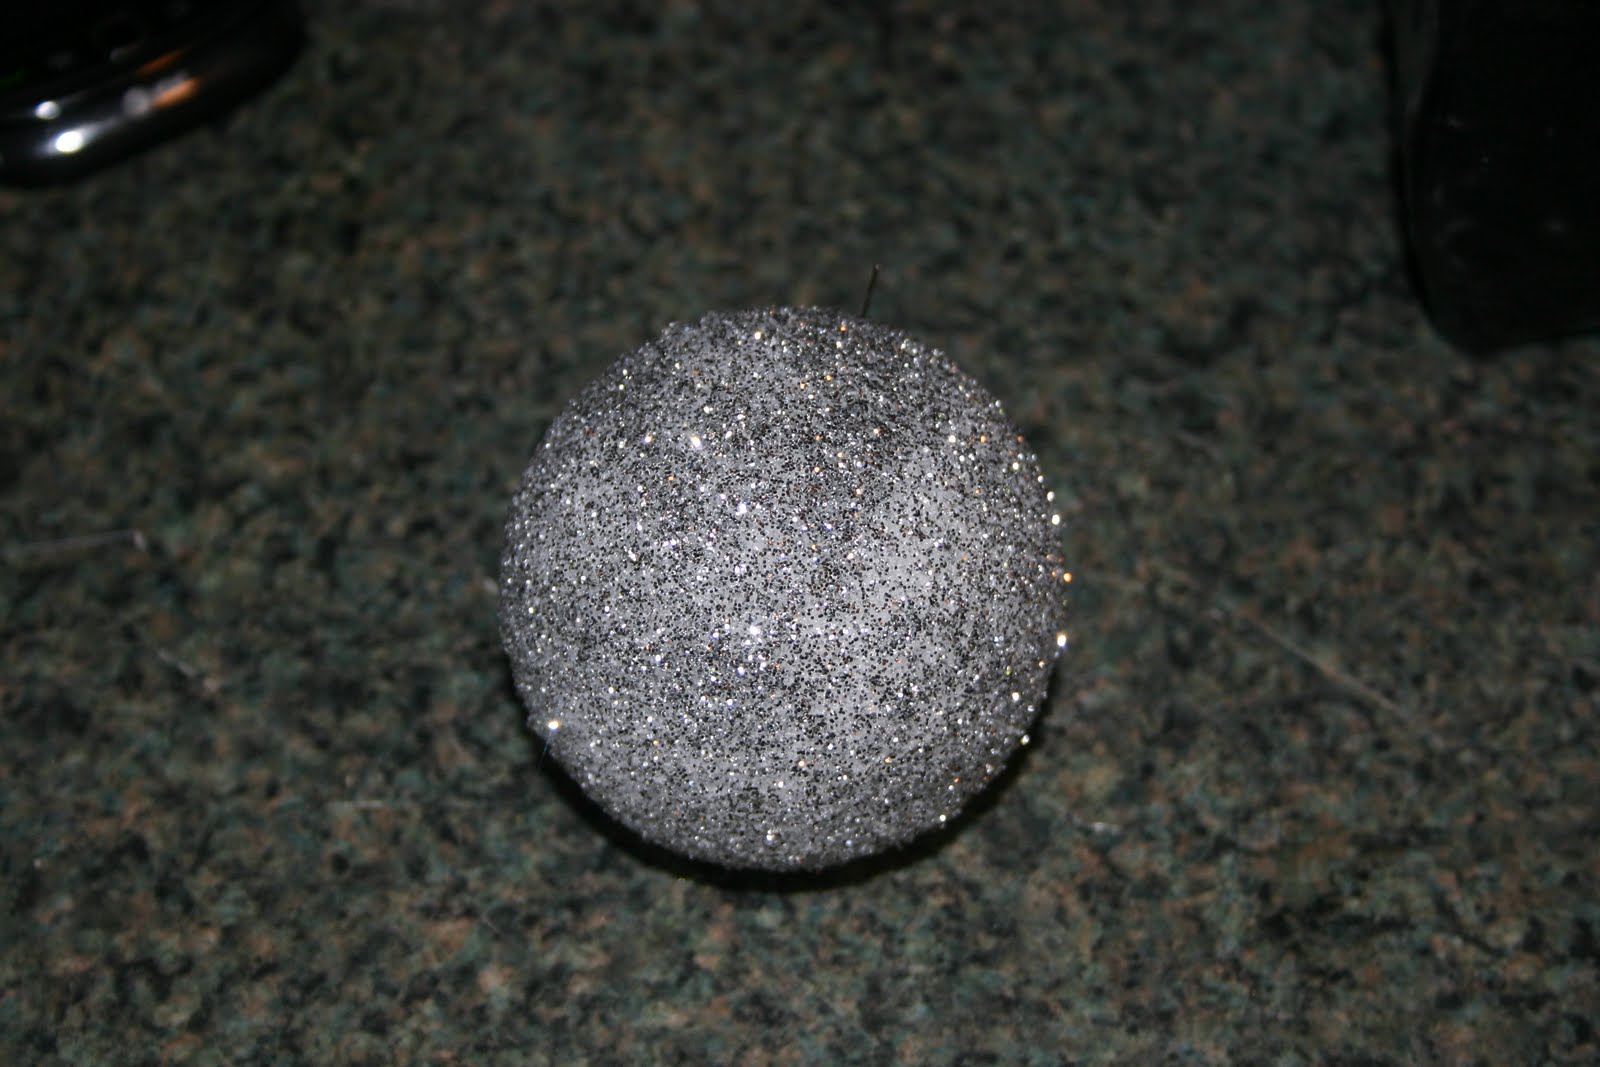
For the last ball, I sprayed it with an adhesive spray (I used an elmers glue spray, which is super sticky!) and I sprinkled it with glitter. Once it is dry, you may want to spray it again with the adhesive spray to prevent too much glitter from rubbing off, or you could spray it with a clear lacquer (I'm not exactly sure how well this would work, since I didn't try it, but I imagine it would work pretty well).

So, here is the group.  I still haven't figured out what I want to do with ball #6, but I'm not in a hurry.  Any ideas?


April 14, 2011

Knock off Decor

This site is great.  It shows all sorts off knock off decor that you can make for your home.  Check it out.


Knock Off Decor

April 12, 2011

Reuse your old lights

I love the old brass hanging lights!  My neighbors recently updated their light fixtures, so I took this beauty off their hands.  I didn't get before pics, I wish I would have, but oh well, you will be able to picture it.  This light was shiny and gold, and not very kind to the eyes, but now, it is a light that I love!  When I painted this, I spray primed it first (which I don't think was necessary), then I spray painted it with a red paint.  Once the 2-3 layers of paint were dry, I glazed it, and voila!

Re-purposing Wooden Windows

I have been on the hunt for some vintage windows, and recently found some!  I was so excited about re-purposing these, and using them in my home.  The windows I found had 6 panes in them.  I used one of them as a weekly calendar, and the other as a picture frame.  Below is a picture of the calendar, and as soon as I add some pictures to my other frame, I will post a picture of it as well.  The vintage window is perfect for a weekly calendar because the dry erase marker comes off clean and easy, so it doesn't leave those annoying streaks like a while board does.  After I picked up the windows, I used 2 screws, one in each of the upper corners, and screwed them about half way in.  I then used picture hanging wire, and knotted the end around the first screw, and then finished screwing it in the rest of the way.  After the first screw was in, I decided how much wire I needed for hanging, and cut it.  I then repeated what I had done with the first screw, and then I twisted the remaining wire tails around the main wire to give it a clean look.

The Foof

Recently, I saw a tutorial on jones design company that illustrated how to make a "foof" out of a foam ball, and coffee filters.  Since this was such a cheap activity, I had to give it a try!  I am thinking that I used wayyyy more coffee filters than were used in the tutorial, I am talking hundreds of coffee filters here!  I still love the way it turned out, and even though it took quite a while to finish, I am glad that I did it.  This "foof" is now hanging in my daughters room (for now).


To see the tutorial, and make your own "foof", go here coffee filter foof tutorial

Mod Podge Letters

Ok, so these letters are super quick, easy, and cheap.  These can also be easily made to match the decor and color scheme of any room in your home.  I initially bought the plain unfinished (the cheapest) wooden letters.  I then went to good old Hobby Lobby, with my daughters comforter, and bought various designs of scrapbook paper that matched with the colors, Ink chalk pads, and ribbon.  Once home, I:

1. Decided which order I wanted the papers to be in
2. Traced the letters onto the back of the appropriate paper
3. Cut the letters out of the paper
4. Covered the wooden letters in Mod Podge and carefully placed the paper letters over top of them
5. I used Ink Chalk pads around the edges (to give a more worn feel to them)
6. I mod Podged over the finished letters, and allowed them to dry
7. Attach your ribbon of choice to the back of the letters (the ribbon may need to be attached slightly off                                    center to allow the letters to hang straight. If you look at my "L" you will see what I mean.)
8. Hang and enjoy

Here is the Finished product~


You can also do a multi pattern letter, which I will explain and show very soon.  Actually, the only reason I don't right now is because I am too lazy to go and take a picture of it at the moment :)

So many great ideas

So, from the same site that I found the storage locker, I found many more amazing pieces of furniture with DIY shopping lists and instructions. This lady is seriously an inspiration to me. I dream of the day when I can build some of these amazing pieces, but I guess until that time comes, that's what husbands are for. Anyway, check out this site, browse through her DIY furniture creations, and get to work creating amazing furniture for your home.

This is one of my favorites!


Check out Ana's furniture here!

Great storage project!

I was browsing around today, and found this awesome Storage shelf/locker on Fresh Home Blog . Isn't this awesome! I may need to make a trip to the Home Depot! Visit this blog to get your shopping list and detailed instructions on how to make this awesome piece of furniture for yourself. Enjoy!


Plan illustration:

April 11, 2011

Great shelving!

This is such a genius idea! I found this on Neon Fox Tongue this is made out of dresser drawers that are set upright, painted, and have the interiors upholstered. I'm sure this would need to be secured with brackets or nails, but what an Inexpensive and awesome idea! I hope you guys enjoy this as much as I do.

April 8, 2011

check this out!

Talk about turning trash into something amazing! I happened upon this site, and was blown away, and totally inspired to go dumpster diving ha.

Cottage Elements

This is an old broom/mop holder that is holding mini glass bottles with flowers. Genius!

Estate Sales

Happy Friday!!! With the weekends comes garage sales, estate sales, and craigslist. I went to my first estate sale for the weekend, and made some fabulous finds. My daughter loves butterflies, and at this sale, I found the coolest butterflies that hang on the wall. Ok, so they aren't that cool right now, but they will be! I also got lots of different fabrics, laces, elastics (for those awesome skirts and diaper covers that I showed you on "made"), different glitters, and more all for $5!!! It makes me want to get to work right now! I will post some pics soon, but right now it is time for a couple of children to take their naps! Stay tuned :)

April 6, 2011

Such cute clothing

Dana over at "Made" has so many tutorials for adorable childrens clothing! If you are looking for cute ideas for DIY clothing, you must stop by and visit her tutorials!


Made tutorials

April 5, 2011

My favorite thrifty DIY blogger ever!

one of my favorite DIY bloggers is Brooke over at all things thrifty. Brooke provides step by step tutorials on painting, glazing, reupholstering, and so much more! All things thrifty is really the blog that inspired me in a lot of my furniture creating. If you like shabby chic, a variety of colors, sewing, upholstering, repurposing, this lady is the queen in my book. She can literally turn trash into amazing pieces of furniture! If you enjoy cooking, this blog has that too!

Click here and check her out!

April 4, 2011

Kids swimsuit tutorial

With summer quickly approaching, we are all thinking about the darling swimsuits that we will pick out for our youngsters. If you are having a problem finding that perfect suite, why not make it?! Check out these ideas from Dana at "Made".

Swimsuit Tutorials

Still under construction

Hello crafty people. I am hoping to get everything up and running very soon, so please visit again!